Setup SuperGuardVPN on macOS devices: A Step-by-Step Guide

Step 1: Download the WireGuard App from the Mac App Store

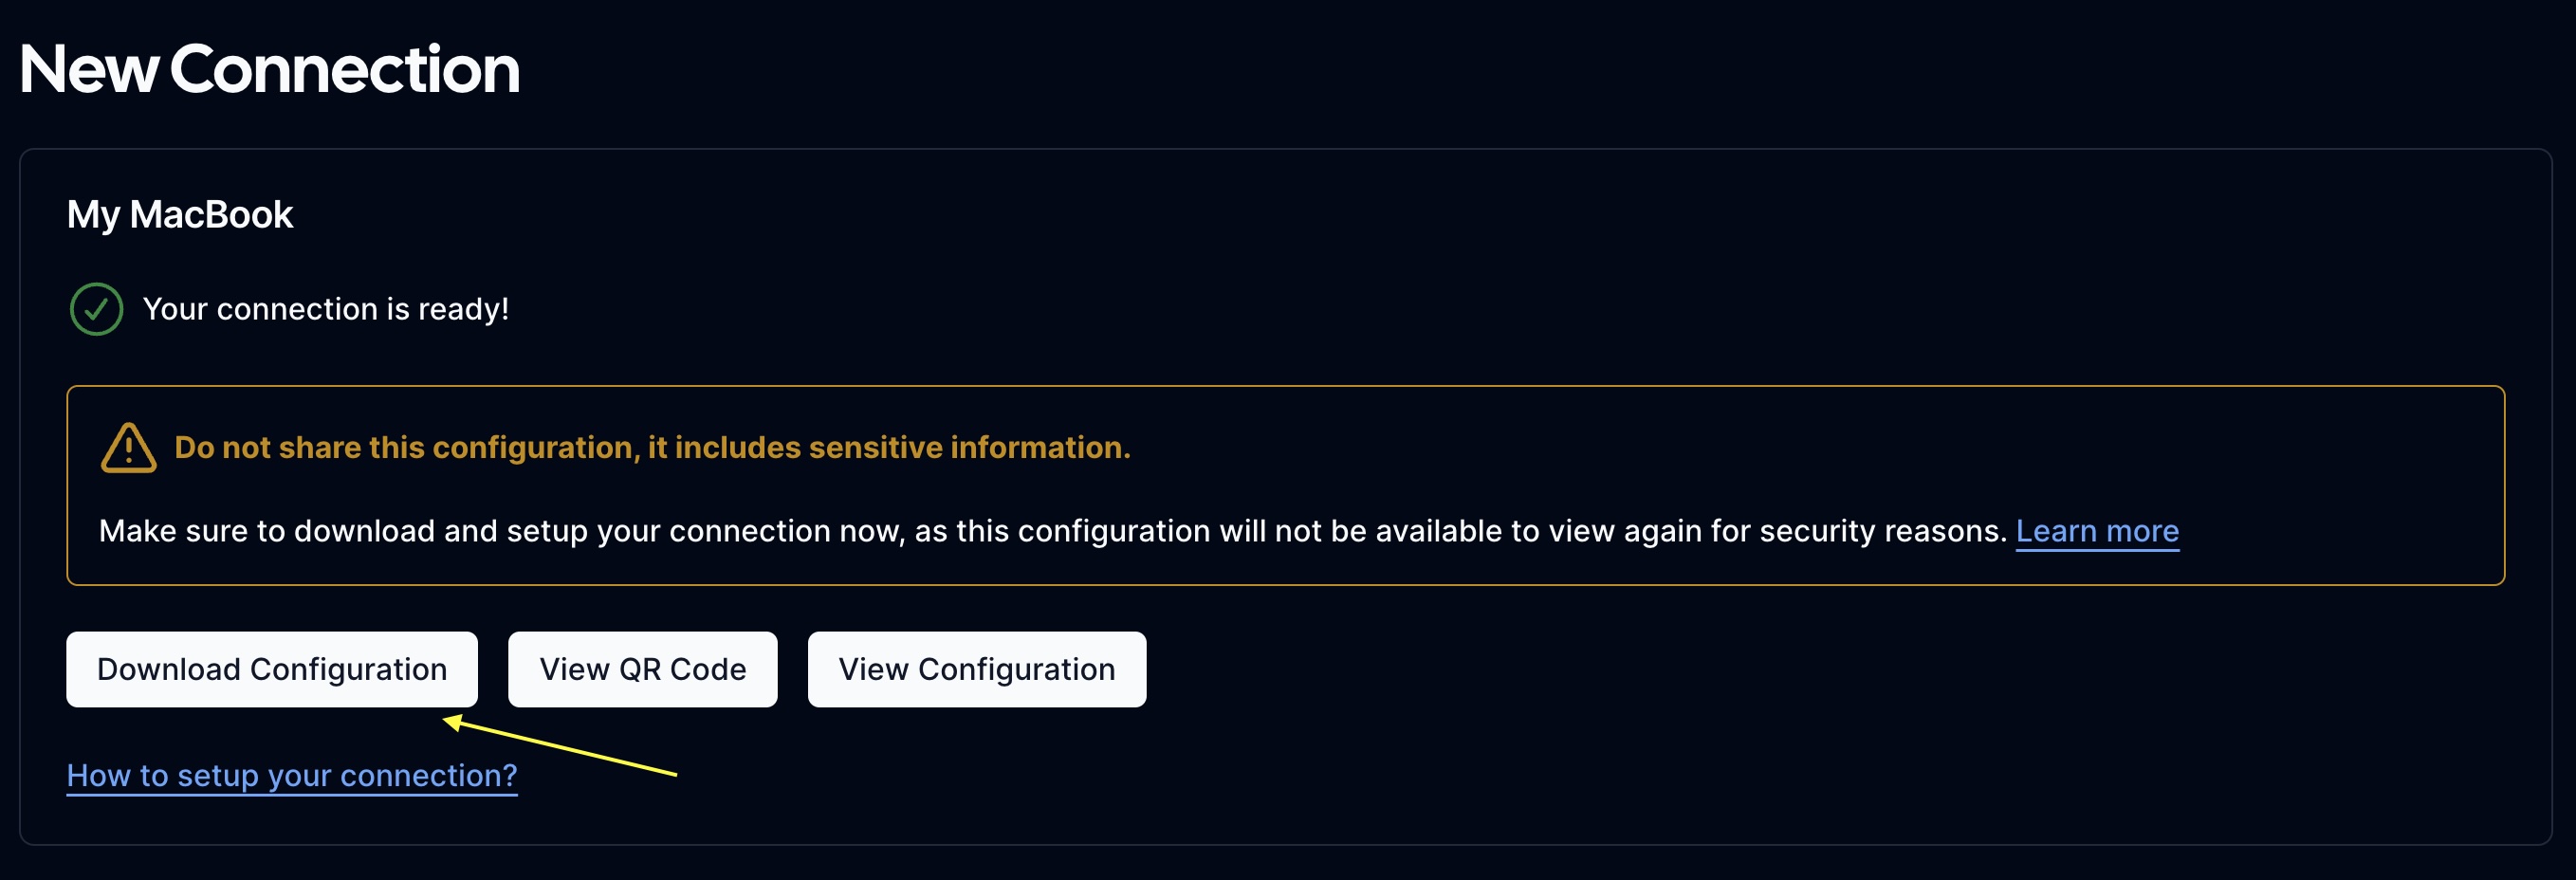
Step 2: Download your connection configuration
If you haven't created a connection yet, go to your Connections, create a new connection, and click on the Download Configuration button when the connection is ready.
Step 3: Import the Configuration File into the WireGuard App
-
Open the WireGuard App: Launch the WireGuard app on your macOS device.

-
Import Tunnel: click on Wireguard icon on the top menu bar and choose
Import Tunnel(s) from File...
-
Select Configuration File: A file selection window will appear. Navigate to the location where you saved the WireGuard configuration file in step 2. Select the configuration file and click on the
Importbutton.
-
Allow WireGuard to Add VPN Configurations: A prompt will appear requesting your permission to allow the WireGuard app to add a VPN configuration. Click the
Allowbutton to grant permission.
-
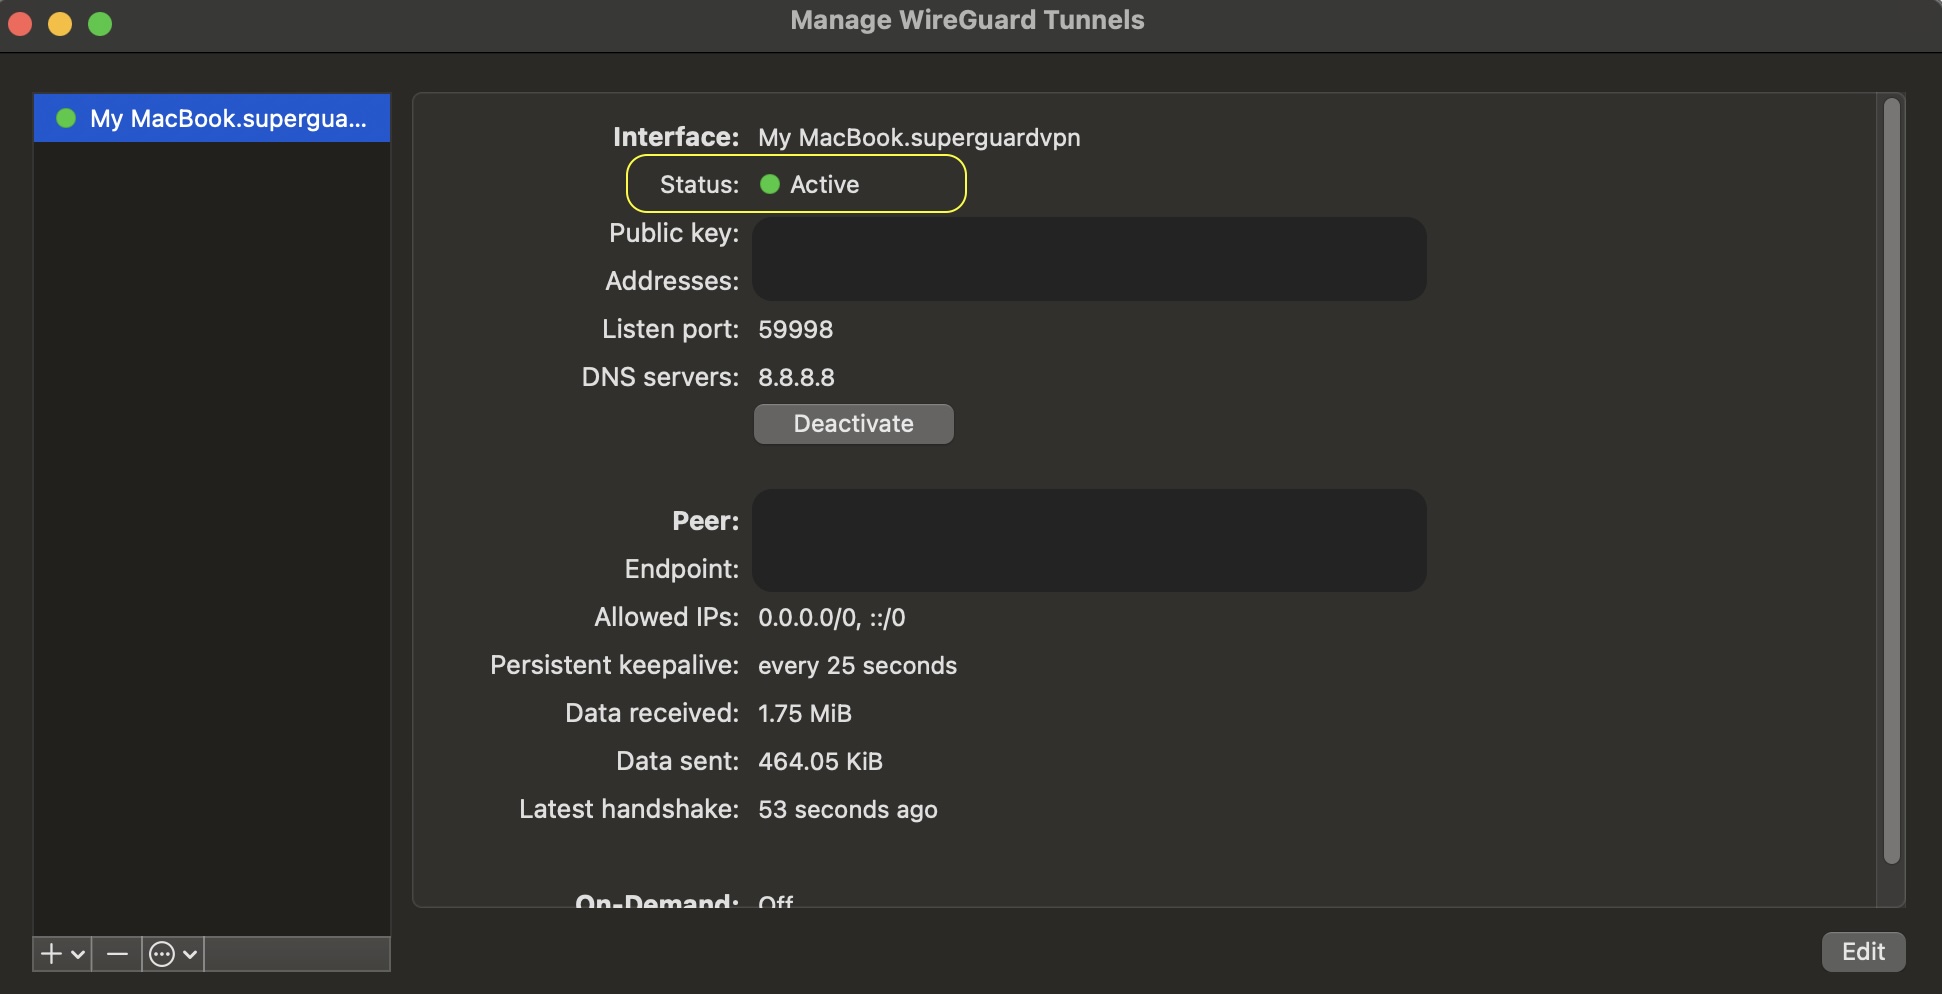
Activate the tunnel: Click on the
Activatebutton to activate the connection.
Step 4: Verify the Connection
- Ensure the tunnel is active: Make sure that the WireGuard app is running and that the tunnel is activated.
-
Go to www.whatismyip.com
-
Confirm the location: If the location displayed on the website matches the location of your connection, then your connection is working properly and you're all set.

Enjoy Unrestricted and Secure Online Freedom
With your macOS device securely connected to SuperGuardVPN, you can now enjoy unrestricted access to the internet, bypass geo-restrictions, safeguard your online privacy, and protect your sensitive data from prying eyes. Embrace the